Once we get the DHCP part set up, here comes the exciting part - to actually install the Linux distro and boot the Pi using it instead of the vanilla 32-bit Raspberry Pi OS.

Now our Pi is still stuck at the initial screen, but don’t worry, as long as it is trying to read the tftp path we have made progress.

Enable TFTP on the Server Side

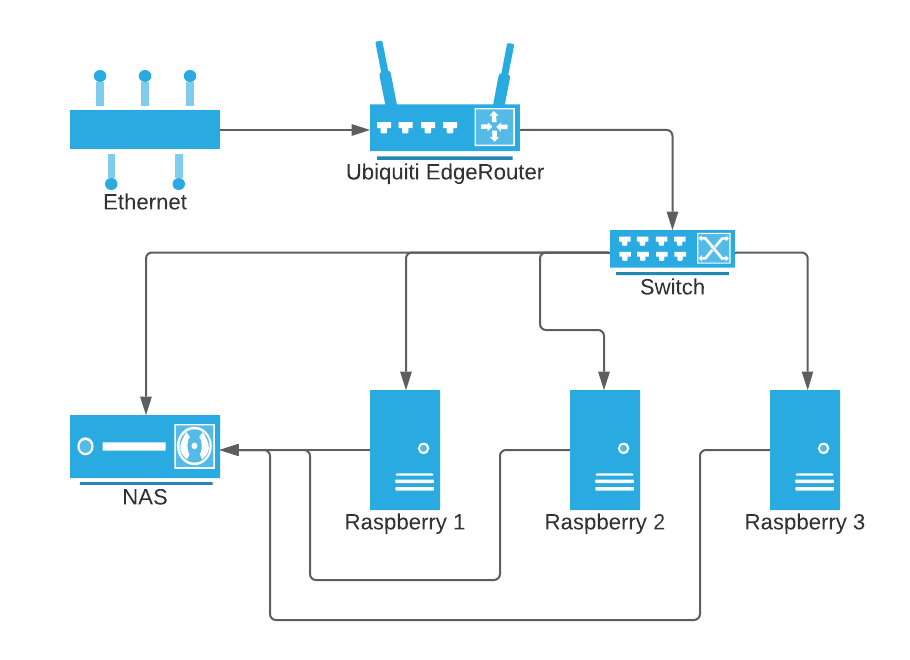
Here I will be using the Synology NAS server as the file system server.

Synology offers tftp support in file sharing directly. On the other hand, it’s also fairly straightforward to set up a TFTP server using a Linux server. One thing important is to remember the tftp root directory. That will be used in the next step to copy over the boot files to.

Under that directory create the Pi corresponding directory like

1
<tftp root>/123456789

123456789 refers to last 9 chars of serial no. Pi’s bootloader by default will load from there.

Create the TFTP boot directory

We need to first grab the Linux distro from an image.

Here I picked Ubuntu 20.04 LTS which is “officially” supported. Technically this is probably not the best option as the OS itself includes a lot of things that we may not actually need and the size is pretty bulky. On the other end the Alpine one is very skinny and lacks some of the tooling we may need initially. For raspberry, unfortunately each distro may be slightly different (in terms of boot) so while you are free to choose whatever you want, YMMV.

Flash the image into the SD card and we’ll get 2 partitions - boot and root.

In general, it’s a good idea to first boot the system using the SD card just in case there’s some essential setup we need to complete ahead of time. After that, the remaining Pi boards can replicate the same set of files with minor tweaks.

Continue reading

Raspberry Pi 4 is shipped with a flashable EEPROM and supports netbooting. However, the entire setup process is not that straightforward and it’s thus worth writing down all the pitfalls through the path especially when it involves a non-“native” Linux distribution.

One thing worth noting is that even though this post mentions “PXE” and so does the official document, the boot process isn’t entirely PXE compliant and thus regular PXE boot support setup process may not work at all or at least not directly.

Here’s a diagram of the network topology I use for the setup:

The Ubiquiti will also be serving as the DHCP server. The Synology NAS will be serving data via tftp (pxe boot) and nfs (post boot). Due to kernel limitation, my NAS cannot support overlayfs. But for newer version of NAS it might be possible.

Raspberry Netboot Sequence

The bootloader in EEPROM by default does not enable netboot so we’d need to enable that first.

Once enabled, upon powering up, Pi will first send a DHCP request to ask for the TFTP server location and verify if netboot is supported.

After that it will fetch the firmware (start4.elf), configs and kernel files (vmlinuz) from that tftp location. The bootloader has a config to specify the exact path for the current device. By default, that’s the last 9 chars of the serial number. This is important as certain config (like cmdline.txt) would tell the OS how to mount the root fs and thus needs to be separate.

The kernel will later be loaded which takes over the boot process and eventually loads the rest of the system distribution.

The official doc can be found here.

Flashing the EEPROM to Enable Netboot

With the basic knowledge equipped, we can continue by first enabling the netboot in bootloader.

To do that, we need to grab the updated version of bootcode.bin file which supports netboot and update the config.

This also requires using the raspberry cli binary vcgencmd.

Pitfall #1: vcgencmd can only work in native Raspberry Pi OS

Yes the vcgencmd binary does not work in Ubuntu or any other “supported” Linux distros, even if you compile from source. They would just silently fail. Technically it should be doable if they are shipped with the right “stuff” but I decide not to waste more time figuring out what the “stuff” is.

Here we need a small microSD card to flash the Raspberry Pi OS onto it and boot the system. For headless setup, don’t forget to touch ssh to create the file to enable ssh by default.

Continue reading
  • page 1 of 1
Author's picture

Shawn Xu

Software Engineer in Bay Area


author.job